Self-Hosted Wiki with Wiki.js - Documentation for Your Home Lab
Set up Wiki.js in your home lab for powerful, Git-backed documentation with SSO integration, multiple storage backends, and a modern interface.

Table of Contents
- Why Wiki.js?
- Installing Wiki.js with Docker Compose
- The Simpler SQLite Option
- Database Backends: Which to Choose?
- First-Time Setup
- Initial Configuration Checklist
- SSO Integration with Authentik
- Step 1: Create the OAuth Provider in Authentik
- Step 2: Configure Wiki.js
- Git Storage: Your Documentation’s Safety Net
- Setting Up Git Storage
- SSH Key Authentication (Recommended)
- Benefits of Git Storage
- Organizing Your Home Lab Documentation
- Creating Effective Documentation Pages
- Using Tags for Cross-Referencing
- Comparing Wiki.js to Alternatives
- When to Choose Wiki.js
- When to Consider Alternatives
- Performance Considerations
- For Minimal Home Labs
- For Multi-User Setups
- Resource Requirements
- Backups and Disaster Recovery
- Git Storage Backup (Recommended)
- Database Backup
- Full Volume Backup
- Recovery Procedure
- Common Issues and Solutions
- Database Connection Refused
- Git Push Permission Denied
- Search Not Finding Pages
- Slow Performance
- Caddy Reverse Proxy Configuration
- Next Steps
- Conclusion
Every home lab needs documentation, but finding the right platform can be tricky. You want something that’s self-hosted, works with your existing SSO setup, and won’t lose your notes if a drive fails. Wiki.js checks all these boxes and more—and it’s surprisingly easy to set up.
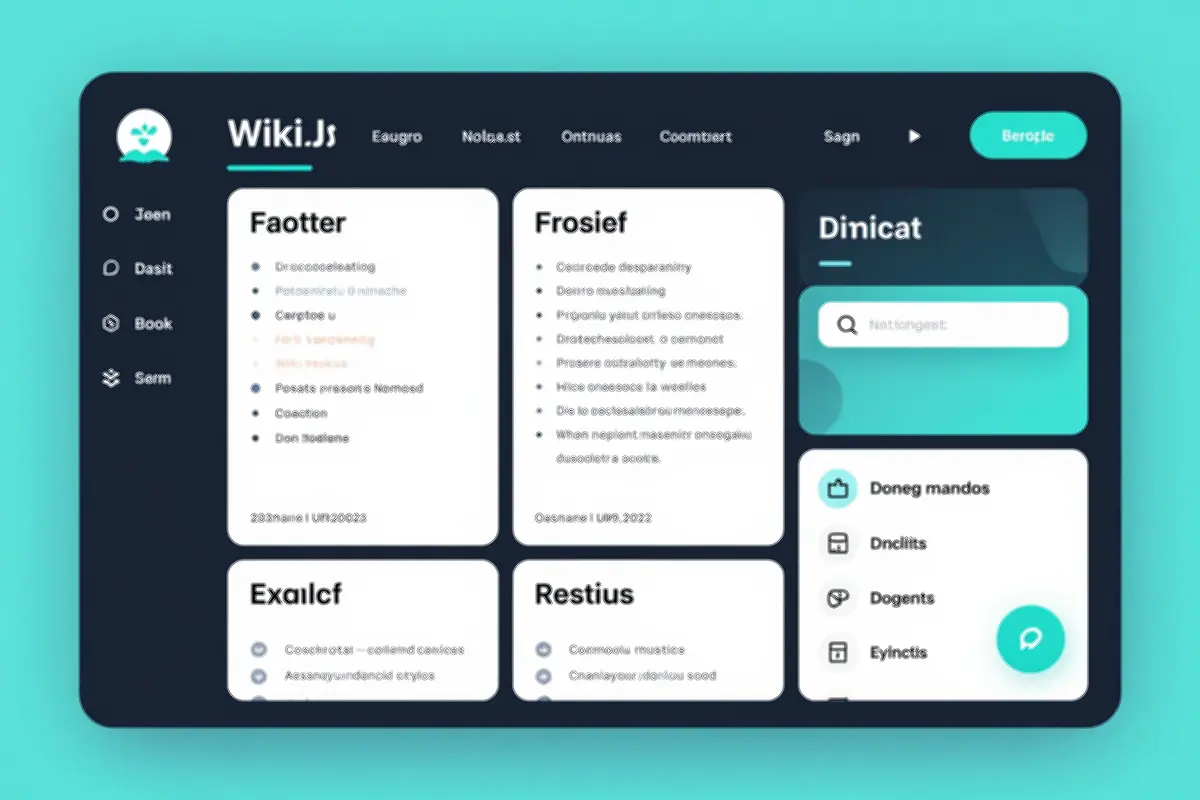 Wiki.js offers a modern interface with both Markdown and WYSIWYG editing
Why Wiki.js?
Wiki.js is more than just a wiki. It’s a complete documentation platform built with modern tech (Node.js, Vue.js, GraphQL) that feels like a premium product while being completely free and open source.
The killer features for home labs:
- Git-backed storage: Every edit becomes a commit in your Git repository. Never lose documentation again.
- SSO integration: Works seamlessly with Authentik, Keycloak, LDAP, and OAuth providers.
- Multiple database backends: PostgreSQL, MySQL, SQLite, or even Git-only storage.
- Dual editing modes: Write in Markdown or use the visual WYSIWYG editor.
- Asset management: Upload images, PDFs, and files directly from the editor.
- Comments and discussions: Built-in commenting for collaborative documentation.
For a home labber, the Git integration is the standout feature. Your entire documentation history lives in version control—rollback mistakes, recover from disasters, and even let external contributors submit PRs to improve your docs.
Installing Wiki.js with Docker Compose
The recommended setup uses PostgreSQL for the database. Here’s a complete docker-compose.yml:
version: "3"
services:
  wikijs:
    image: ghcr.io/requarks/wiki:2
    container_name: wikijs
    environment:
      DB_TYPE: postgres
      DB_HOST: db
      DB_PORT: 5432
      DB_USER: wikijs
      DB_PASS: ${WIKIJS_DB_PASSWORD}
      DB_NAME: wikijs
      WIKIJS_WORKERS: 2
    restart: unless-stopped
    ports:
      - "3010:3000"
    depends_on:
      - db
    volumes:
      - ./data/assets:/wiki/assets

  db:
    image: postgres:15-alpine
    container_name: wikijs-db
    environment:
      POSTGRES_DB: wikijs
      POSTGRES_PASSWORD: ${WIKIJS_DB_PASSWORD}
      POSTGRES_USER: wikijs
    restart: unless-stopped
    volumes:
      - ./data/db:/var/lib/postgresql/data
    healthcheck:
      test: ["CMD-SHELL", "pg_isready -U wikijs"]
      interval: 5s
      timeout: 5s
      retries: 5
Create a .env file for secrets:
WIKIJS_DB_PASSWORD=your_secure_password_hereStart it up:
docker compose up -d
docker compose logs -f wikijs
First launch takes a moment. Once you see “Server running on port 3000”, open http://your-server:3010 to complete setup.
The Simpler SQLite Option
If you’re running a minimal homelab with just one or two users, SQLite works fine:
version: "3"
services:
  wikijs:
    image: ghcr.io/requarks/wiki:2
    container_name: wikijs
    environment:
      DB_TYPE: sqlite
      DB_FILEPATH: /data/wiki.db
    restart: unless-stopped
    ports:
      - "3010:3000"
    volumes:
      - ./data/wiki:/data
      - ./data/assets:/wiki/assets
SQLite has limitations—it doesn’t handle concurrent users well and full-text search needs an external engine. But for personal documentation? It’s perfectly adequate.
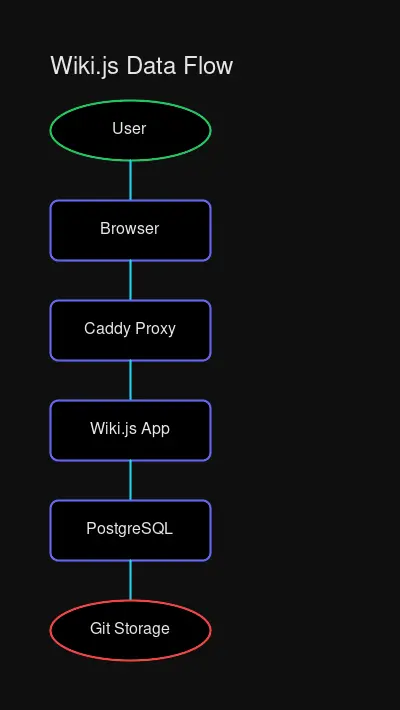 Wiki.js architecture with PostgreSQL database and optional Git storage backend
Database Backends: Which to Choose?
| Backend | Best For | Limitations |
|---|---|---|
| PostgreSQL | Production, multi-user | Needs separate container |
| MySQL | If you already use MySQL | Slightly slower than Postgres |
| SQLite | Single user, minimal setup | Limited concurrency, no full-text search |
| Git-only | Smaller wikis, backup-first | All content in Git, slower operations |
For most home labs, PostgreSQL hits the sweet spot: reliable, fast, and enables all Wiki.js features. SQLite is fine for starting out, and you can always migrate to Postgres later.
First-Time Setup
After the container starts, navigate to your Wiki.js instance. You’ll be prompted to:
- Create an administrator account
- Set the site URL (e.g.,
https://wiki.yourdomain.com) - Choose authentication methods (start with local auth)
Initial Configuration Checklist
- Set your site name and logo
- Configure the default locale
- Enable dark mode as default (if you prefer)
- Set up the default page content
- Configure email (optional, for notifications)
SSO Integration with Authentik
If you’ve followed my other guides, you likely have Authentik running for centralized authentication. Wiki.js integrates beautifully with it.
Step 1: Create the OAuth Provider in Authentik
In Authentik, navigate to Applications > Providers and create a new OAuth2/OpenID Provider:
| Setting | Value |
|---|---|
| Name | Wiki.js |
| Type | OAuth2/OpenID Connect |
| Authorization flow | default-provider-authorization-explicit-consent |
| Redirect URI | https://wiki.yourdomain.com/login/callback |
Copy the Client ID and Client Secret for the next step.
Step 2: Configure Wiki.js
In Wiki.js, go to Administration > Authentication > Strategies:
- Click Add Strategy
- Select OAuth2 / OpenID Connect
- Configure:
| Field | Value |
|---|---|
| Client ID | (from Authentik) |
| Client Secret | (from Authentik) |
| Authorization Endpoint | https://auth.yourdomain.com/application/o/authorize/ |
| Token Endpoint | https://auth.yourdomain.com/application/o/token/ |
| User Info Endpoint | https://auth.yourdomain.com/application/o/userinfo/ |
| Issuer | https://auth.yourdomain.com/application/o/wiki-js/ |
| Email claim | email |
| Display Name claim | name |
- Map Authentik groups to Wiki.js groups for automatic permissions
- Save and test the login
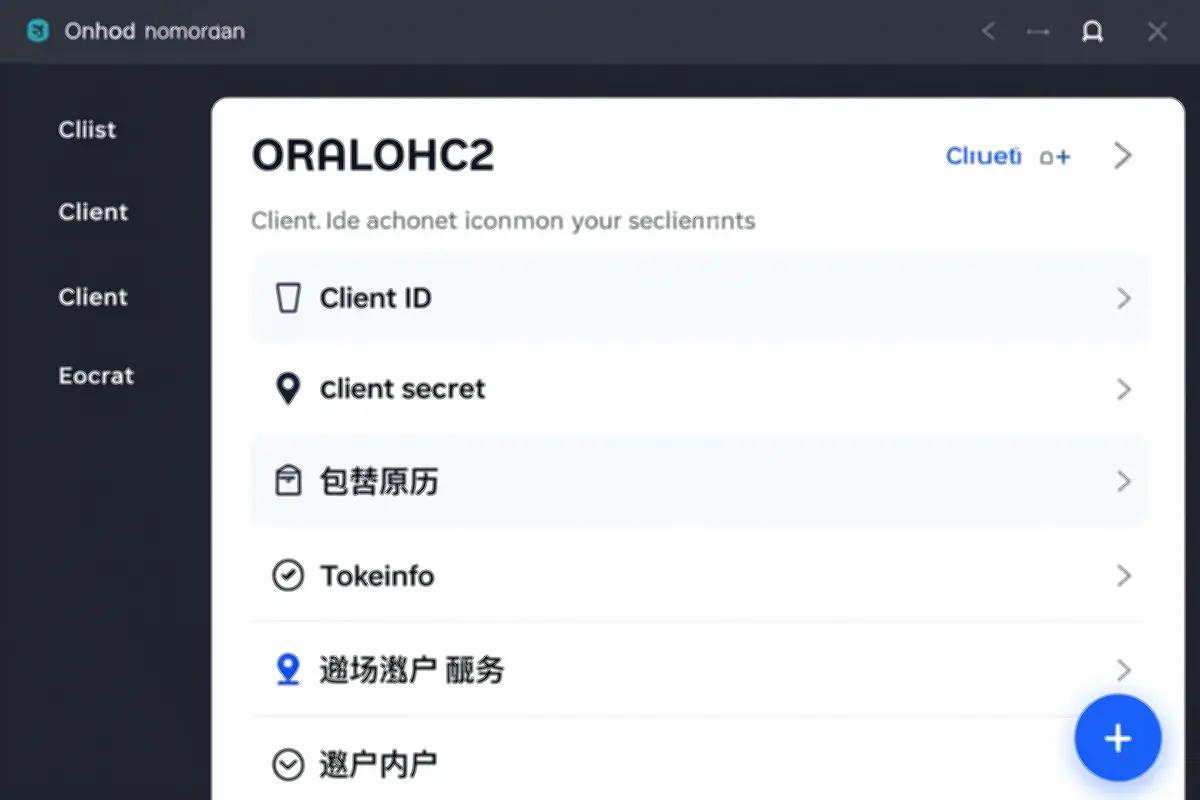 OAuth2 configuration for Authentik SSO in Wiki.js
Now your users can log in with their Authentik credentials. No separate passwords to manage.
Git Storage: Your Documentation’s Safety Net
This is where Wiki.js shines. Instead of keeping content locked in a database, you can store everything in Git. Every edit becomes a commit. Every page can be restored from history. And your documentation lives alongside your code.
Setting Up Git Storage
- Create a private repository on GitHub, GitLab, or your self-hosted Gitea/Forgejo instance
- In Wiki.js, go to Administration > Storage
- Click Add Storage Target
- Choose Git
- Configure:
| Setting | Value |
|---|---|
| Repository URL | [email protected]:yourusername/wiki-content.git |
| Branch | main |
| Authentication | SSH Key or Personal Access Token |
SSH Key Authentication (Recommended)
# Generate a dedicated key
ssh-keygen -t ed25519 -C "wiki-js" -f wiki-js-key

# Add the public key to your Git provider (Deploy Key)

# Mount the private key in your Wiki.js container
volumes:
  - ./wiki-js-key:/wiki/.ssh/id_ed25519:ro
Benefits of Git Storage
- Version history without database bloat: Old versions don’t slow down queries
- Disaster recovery: Clone from anywhere with Git access
- Collaboration: Team members can submit PRs to improve docs
- Backup: Your Git host handles backups automatically
- Diff reviews: See exactly what changed with proper diff tools
For a home lab, this means your documentation survives even catastrophic hardware failures. Spin up a new Wiki.js instance, connect it to your Git repo, and everything’s back.
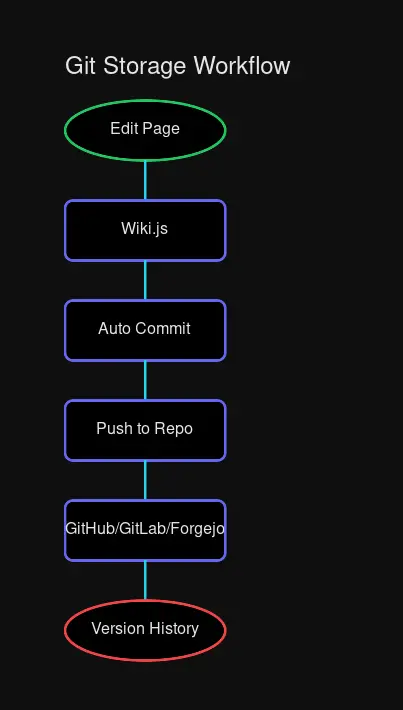 Git storage ensures your documentation survives anything
Organizing Your Home Lab Documentation
A good wiki needs good structure. Here’s a template I use for home lab documentation:
/
├── Home
│   └── Quick Start Guide
├── Hardware
│   ├── Servers
│   │   ├── Proxmox Hosts
│   │   └── Storage Servers
│   ├── Network Equipment
│   │   ├── Switches
│   │   ├── Routers
│   │   └── Access Points
│   └── Other Devices
├── Services
│   ├── Infrastructure
│   │   ├── Proxmox
│   │   ├── Docker
│   │   └── Kubernetes
│   ├── Networking
│   │   ├── DNS (Pi-hole)
│   │   ├── VPN (Tailscale)
│   │   └── Proxy (Caddy)
│   ├── Media
│   │   ├── Jellyfin
│   │   └── Media Management
│   └── Automation
│       ├── Home Assistant
│       └── n8n
├── Networking
│   ├── VLANs and Subnets
│   ├── Firewall Rules
│   └── Port Forwarding
├── Backups
│   ├── Strategy
│   ├── Schedule
│   └── Recovery Procedures
├── Monitoring
│   ├── Grafana Dashboards
│   ├── Alert Rules
│   └── Log Aggregation
└── Troubleshooting
    ├── Common Issues
    ├── Runbooks
    └── Lessons Learned
Creating Effective Documentation Pages
Each service page follows this template:
# Service Name

## Overview
- What it does
- Why you need it
- Where it runs (host/container)

## Configuration
- Key configuration files
- Environment variables
- Ports and URLs

## Usage
- Common operations
- Web UI location
- API endpoints (if applicable)

## Troubleshooting
- Common issues and fixes
- Useful commands

## Related Services
- Links to dependent/related services

---
Last Updated: YYYY-MM-DD
Using Tags for Cross-Referencing
Tags connect related content across your wiki. Add them at the bottom of each page:
---
tags: ["docker", "monitoring", "containers"]
---
Then users can click any tag to see all pages with that topic.
Comparing Wiki.js to Alternatives
| Feature | Wiki.js | BookStack | Outline |
|---|---|---|---|
| Open Source | ✅ Apache 2.0 | ✅ MIT | ✅ source-available |
| Self-Hosted | ✅ | ✅ | ✅ |
| Git Storage | ✅ | ❌ | ❌ |
| SSO/OIDC | ✅ | ✅ | ✅ |
| Markdown | ✅ | ✅ | ✅ |
| WYSIWYG | ✅ | ✅ | ❌ |
| Database | Postgres/MySQL/SQLite | MySQL/SQLite | Postgres |
| Full-Text Search | ✅ | ✅ | ✅ |
| Difficulty | Medium | Low | Low |
When to Choose Wiki.js
- You want Git-based version control for your docs
- You need powerful SSO integration options
- You prefer a modern, fast interface
- You want both Markdown and WYSIWYG editing
When to Consider Alternatives
- BookStack: You want something simpler, with a book/chapter/page organization
- Outline: You’re already using Slack and want tighter integration
- Notion: You don’t need self-hosting and want maximum convenience
For most home labs, Wiki.js offers the best combination of features, flexibility, and future-proofing.
Performance Considerations
For Minimal Home Labs
If you’re running on a single board computer or small VM:
- Use SQLite for simplicity (1-2 users)
- Set
WIKIJS_WORKERS=1in environment variables - Disable unused rendering engines
- Skip full-text search (or use Meilisearch for lightweight external search)
For Multi-User Setups
With higher traffic or multiple contributors:
- PostgreSQL is essential for concurrency
- Enable Redis caching if available
- Consider Meilisearch for fast, lightweight search
- Use a reverse proxy (Caddy, Traefik) for SSL termination
Resource Requirements
| Setup | RAM | CPU | Storage |
|---|---|---|---|
| SQLite, single user | 512MB | 1 vCPU | 1GB |
| PostgreSQL, multi-user | 1GB | 2 vCPU | 5GB+ |
| With external search | +256MB | +1 vCPU | +2GB |
Backups and Disaster Recovery
Git Storage Backup (Recommended)
If you configure Git storage, backup is automatic:
- Your Git host handles redundancy
- Clone your repo anywhere for instant DR
- New Wiki.js instance + connect to repo = full restoration
Database Backup
For PostgreSQL:
# Backup
docker exec wikijs-db pg_dump -U wikijs wikijs > wikijs_$(date +%F).sql

# Restore
cat wikijs_2026-03-04.sql | docker exec -i wikijs-db psql -U wikijs wikijs
Full Volume Backup
# Create backup
docker run --rm \
  -v wikijs_data:/data \
  -v $(pwd):/backup \
  alpine \
  tar czf /backup/wikijs_backup_$(date +%F).tar.gz /data

# Restore from backup
docker run --rm \
  -v wikijs_data:/data \
  -v $(pwd):/backup \
  alpine \
  tar xzf /backup/wikijs_backup_2026-03-04.tar.gz -C /
Recovery Procedure
- Git Storage: Spin up new Wiki.js, connect to Git repo, done
- Database Only: Restore database backup, restart container
- Complete Failure: Deploy new container + restore volumes + connect Git
Common Issues and Solutions
Database Connection Refused
# Check database is running
docker compose ps db

# Check logs
docker compose logs db

# Verify network connectivity
docker exec wikijs ping wikijs-db
Usually caused by:
- Database not started (
depends_onshould handle this) - Wrong host/port in environment
- Password mismatches between containers
Git Push Permission Denied
# Check SSH key permissions
ls -la wiki-js-key

# Should be 600, owned by container user
chmod 600 wiki-js-key
chown 1000:1000 wiki-js-key
Search Not Finding Pages
- Navigate to Administration > Search
- Click Rebuild Index
- Wait for indexing to complete
For large wikis, consider external search engines like Meilisearch or Elasticsearch.
Slow Performance
Common fixes:
- Enable Redis for caching
- Reduce worker count for low-memory systems
- Use SSD storage for database
- Check for excessive background jobs
Caddy Reverse Proxy Configuration
For HTTPS with automatic certificates:
wiki.yourdomain.com {
    reverse_proxy localhost:3010

    # Allow large file uploads
    request_body {
        max_size 100MB
    }
}
The max_size is important—wiki pages with embedded images hit default limits quickly.
Next Steps
Once Wiki.js is running:
- Create your documentation structure using the template above
- Configure Git storage before you accumulate too much content
- Set up SSO to integrate with your existing auth system
- Write a quick-start guide for your own reference
- Document your recovery procedures before you need them
Your future self will thank you when you need to remember which port you assigned to that obscure service six months from now.
Conclusion
Wiki.js is the documentation platform your home lab deserves. It’s modern, powerful, Git-integrated, and works great with the rest of your self-hosted stack.
The combination of SSO integration, Git-backed storage, and a polished interface makes it the best choice for anyone serious about maintaining proper documentation. Install it once, connect it to Git, and your notes survive anything.
Related: Authentik Self-Hosted SSO, Self-Hosted Git Server with Gitea/Forgejo, Docker Compose Homelab Setup

Comments
Powered by GitHub Discussions