VLANs for Homelab: Network Segmentation Done Right
Learn how to secure your homelab with VLANs. Practical guide covering network segmentation, traffic isolation, router configuration, and firewall rules for IoT, guest, and media networks.
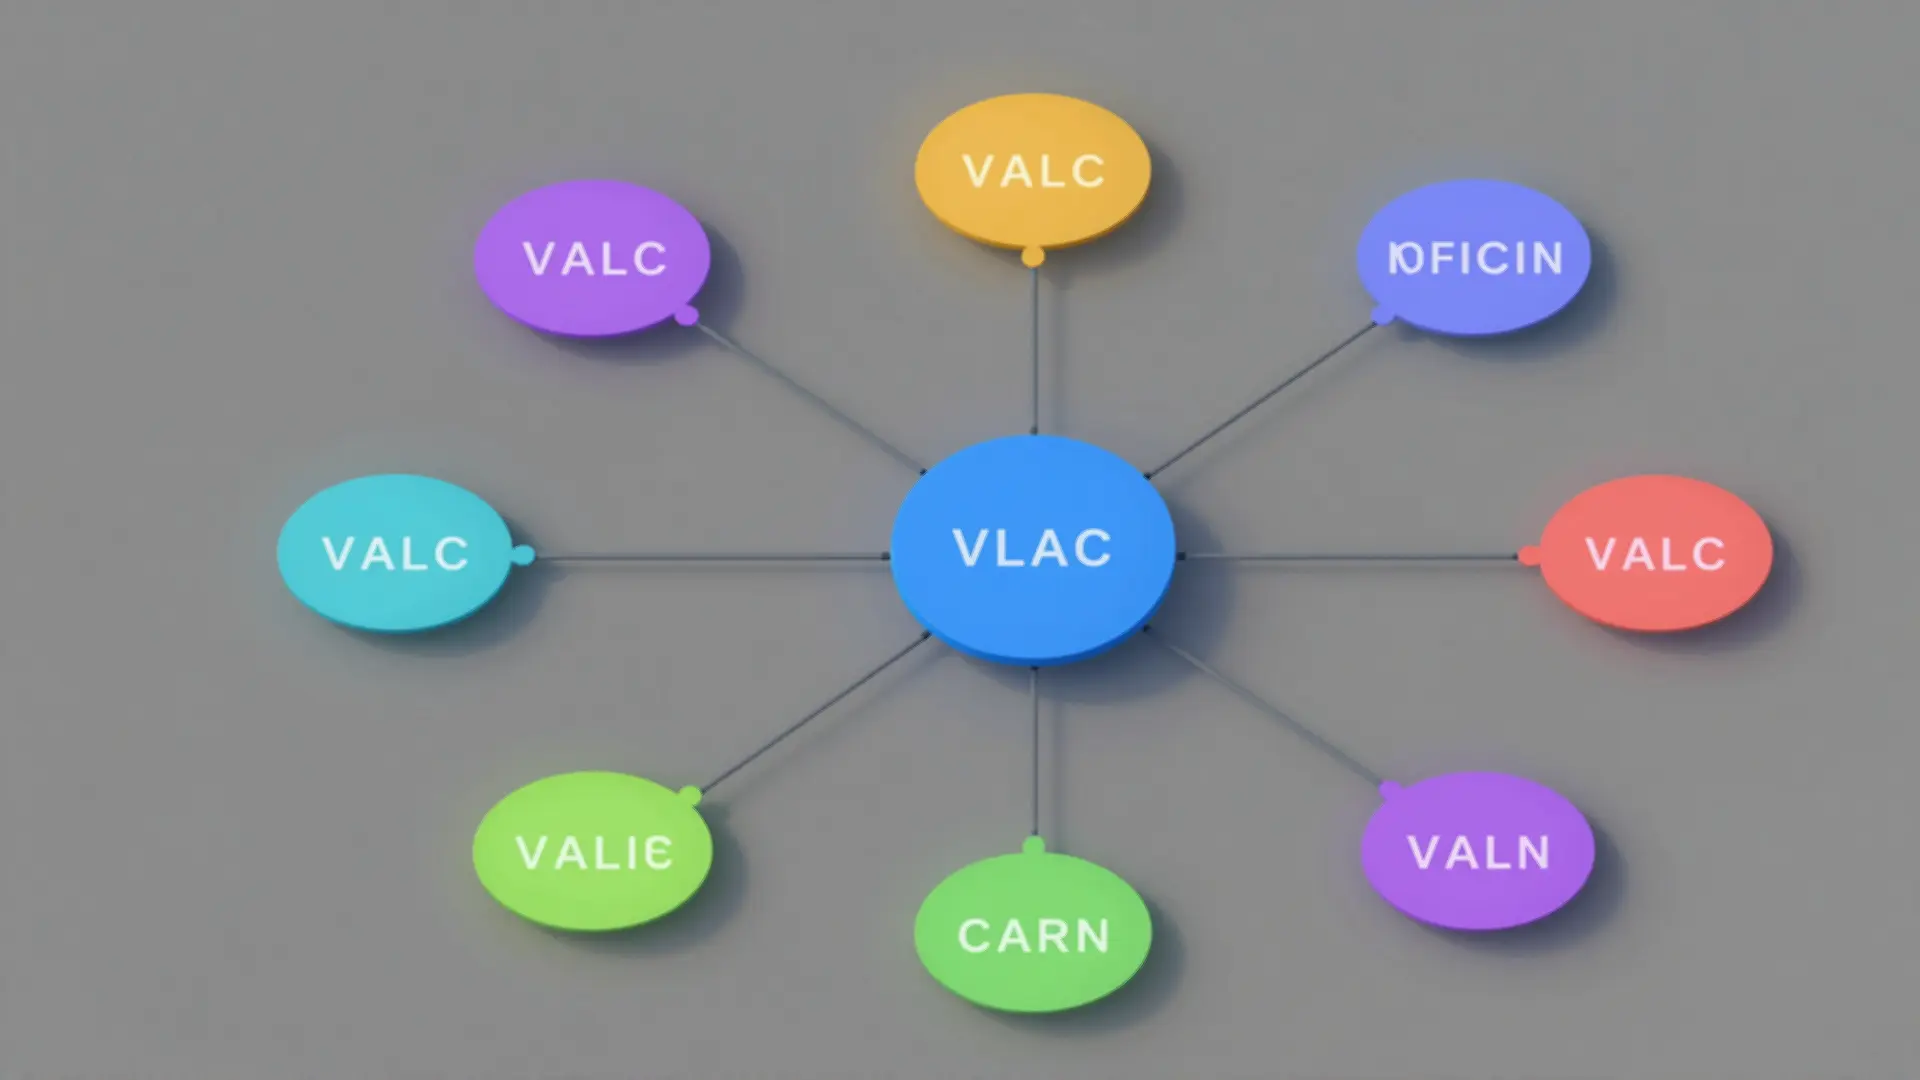
Table of Contents
- What is a VLAN?
- Why Bother with Segmentation?
- Security: The Real Reason
- Traffic Management
- Practical Benefits
- Planning Your VLAN Structure
- Essential VLANs
- Optional VLANs
- Naming Conventions
- Router Configuration
- pfSense / OPNsense (Recommended)
- OpenWrt
- Ubiquiti / Unifi
- Switch Configuration
- Understanding Port Types
- Example: 24-Port Managed Switch
- VLAN-Native WiFi Access Points
- Firewall Strategy: Block First, Ask Questions Later
- Default Policy Table
- pfSense Firewall Rules
- Common Gotchas
- Practical Implementation Walkthrough
- Step 1: Plan Your IP Scheme
- Step 2: Configure Router
- Step 3: Configure Switch
- Step 4: Test Connectivity
- Step 5: Migrate Devices
- Monitoring and Troubleshooting
- Common Issues
- Monitoring Commands
- Grafana Dashboard
- Hardware Recommendations
- Budget Build (under $200)
- Mid-Range Build ($200 to $500)
- Pro Build ($500+)
- Conclusion
- Further Reading
Every device on your network can talk to every other device. That Smart TV? It can reach your file server. Your kid’s tablet? Same network as your production VMs. This default flat topology is convenient — and dangerous.
VLANs solve this by creating virtual walls between your devices. Let’s build a properly segmented homelab network.
What is a VLAN?
A Virtual Local Area Network (VLAN) is a logical grouping of devices that behave as if they’re on separate physical networks, even when connected to the same switch. Think of it as dividing one network cable into several virtual cables — traffic in one VLAN can’t reach another without explicit permission.
The magic happens at Layer 2 (Ethernet). Each frame gets tagged with a VLAN ID (802.1Q), and switches route frames to ports assigned to that VLAN. Your router then handles inter-VLAN routing with firewall rules controlling what crosses the boundaries.
Why Bother with Segmentation?
Security: The Real Reason
Your network has devices you trust (your servers, workstations) and devices you tolerate (IoT gadgets, smart speakers, that cheap Wi-Fi camera). The problem? On a flat network, a compromised device becomes a stepping stone to everything else.
Real attack scenarios:
- Compromised smart bulb → lateral movement → credential theft from workstation → lateral movement → domain admin
- Malware on guest laptop → network scan → attack vector on unpatched media server
- Vulnerable IP camera → botnet recruitment → DDoS participation from your network
With VLANs, that compromised smart bulb can only reach other IoT devices — not your financial records.
Traffic Management
Ever notice streaming stutters when someone starts a big download? VLANs let you prioritize traffic:
- QoS per VLAN: Media VLAN gets bandwidth priority
- Bandwidth limits: Cap guest network to prevent abuse
- Broadcast storm containment: Issues in one VLAN don’t propagate
Practical Benefits
- Easier troubleshooting: “Something’s wrong with IoT” is contained to VLAN 30
- Compliance: If you handle sensitive data, separation might be required
- Future-proofing: Adding a new segment? No rewiring, just configuration
Planning Your VLAN Structure
Don’t overthink it. Start simple, expand later. Here’s a practical breakdown:
Essential VLANs
| VLAN ID | Name | CIDR | Purpose |
|---|---|---|---|
| 10 | Management | 10.10.10.0/24 | Network infrastructure: switches, APs, UPS management |
| 20 | Trusted | 10.10.20.0/24 | Your devices: PCs, servers, NAS |
| 30 | IoT | 10.10.30.0/24 | Smart home: lights, cameras, speakers, thermostats |
| 40 | Media | 10.10.40.0/24 | Streaming devices: Apple TV, Chromecast, media servers |
| 50 | Guest | 10.10.50.0/24 | Visitor WiFi, phones of people you don’t fully trust |
Optional VLANs
- Lab (60): Testing environments, experimental VMs
- Work (70): Separate network for work devices — isolates employer data
- Security (80): Isolated network for cameras and NVR
Naming Conventions
Pick a scheme and stick with it:
[Category].[VLAN].[Host]

iot.vlan30.camerabackyard.lan  (static IP)
trusted.vlan20.fileserver.lan
Router Configuration
Your router handles inter-VLAN routing and firewall rules. Let’s look at three common options:
pfSense / OPNsense (Recommended)
The gold standard for homelab routing. FreeBSD-based with powerful firewall capabilities.
Create VLAN interfaces:
# In web interface: Interfaces → Assignments → VLANs
# Parent: igb0 (your LAN interface)
# VLAN Tag: 10, 20, 30, etc.

# Then assign each as an interface
# Interfaces → Assignments → Add each VLAN
Configure firewall rules (per VLAN):
# Block inter-VLAN by default (Trusted example)
# Firewall → Rules → VLAN_TRUSTED

# Allow DNS to firewall
pass in quick on VLAN_TRUSTED proto { tcp, udp } from VLAN_TRUSTED:network to (self) port 53

# Allow HTTPS to internet
pass in quick on VLAN_TRUSTED proto tcp from VLAN_TRUSTED:network to any port 443

# Allow SSH to specific VLANs (for management)
pass in quick on VLAN_TRUSTED proto tcp from VLAN_TRUSTED:network to VLAN_IOT:network port 22
OpenWrt
Perfect for consumer routers or cheap ARM boards. Lighter weight than pfSense.
Create VLANs:
# Edit /etc/config/network

config interface 'vlan30'
    option type 'bridge'
    option proto 'static'
    option ipaddr '10.10.30.1'
    option netmask '255.255.255.0'
    option name 'IoT'

# Configure switch ports
config switch_vlan
    option device 'switch0'
    option vlan '30'
    option ports '3t 4t'  # tagged ports
Firewall rules:
# /etc/config/firewall

config zone
    option name 'iot'
    list network 'vlan30'
    option input 'REJECT'
    option output 'ACCEPT'
    option forward 'REJECT'

config forwarding
    option src 'iot'
    option dest 'wan'
Ubiquiti / Unifi
The “it just works” option. GUI-driven, great for beginners.
Create networks (web UI):
Navigate to Settings → Networks → Create New Network
{
  "name": "IoT",
  "purpose": "iot",
  "vlan_id": 30,
  "ipv4_network": "10.10.30.1/24",
  "dhcp_enabled": true
}
Inter-VLAN routing rules:
Settings → Routing & Firewall → Firewall → Policies
Create rules blocking traffic between VLANs that shouldn’t communicate.
Switch Configuration
Managed switches are essential. Your bargain unmanaged switch will treat all VLAN tags as regular traffic — breaking everything.
Understanding Port Types
Trunk port: Carries multiple VLANs (tagged). Connects to router or between switches.
Access port: Assigned to one VLAN (untagged). Connects to end devices.
Hybrid port: Both tagged and untagged VLANs. Used for VoIP phones with PC behind them.
Example: 24-Port Managed Switch
# Create VLANs
vlan 10
 name Management
vlan 20
 name Trusted
vlan 30
 name IoT
vlan 40
 name Media
vlan 50
 name Guest

# Port 1: Trunk to router
interface ethernet 1/1
 switchport mode trunk
 switchport trunk allowed vlan 10,20,30,40,50
 switchport trunk native vlan 10

# Ports 2-8: Trusted (workstations, servers)
interface range ethernet 1/2-1/8
 switchport mode access
 switchport access vlan 20

# Ports 9-16: IoT devices
interface range ethernet 1/9-1/16
 switchport mode access
 switchport access vlan 30

# Ports 17-20: Media devices
interface range ethernet 1/17-1/20
 switchport mode access
 switchport access vlan 40

# Port 21-24: Guest (WiFi AP guest SSID)
interface range ethernet 1/21-1/24
 switchport mode access
 switchport access vlan 50
VLAN-Native WiFi Access Points
Most modern APs support VLAN-tagged SSIDs:
- SSID: Home → VLAN 20 (Trusted)
- SSID: IoT → VLAN 30 (IoT)
- SSID: Guest → VLAN 50 (Guest)
Configure the SSID VLAN mapping in your AP/DMZ controller, then trunk the VLANs to the AP’s switch port.
Firewall Strategy: Block First, Ask Questions Later
The most important part of VLAN segmentation isn’t the VLANs themselves — it’s the firewall rules between them.
Default Policy Table
| From | To | Policy | Reason |
|---|---|---|---|
| Trusted | IoT | DNS only (53) | Manage devices, limit exposure |
| Trusted | Media | Allow | Stream content |
| Trusted | Guest | Block | No reason to reach guests |
| Trusted | Internet | Allow | Normal usage |
| IoT | Trusted | Block | IoT is untrusted |
| IoT | Internet | Allow limited | External services only |
| IoT | IoT | Allow | Smart home communication |
| Media | Trusted | Allow | Access media libraries |
| Media | Internet | Allow | Streaming services |
| Guest | Anything not Internet | Block | Maximum isolation |
| Guest | Internet | Allow | Guest convenience |
pfSense Firewall Rules
# Floating Rules (apply to all interfaces)
pass quick inet proto { tcp udp } from { 10.10.20.0/24 } port 53
pass quick inet proto tcp from { 10.10.20.0/24 } to any port 443

# Block IoT to Trusted (explicit denial)
block drop in quick on VLAN_IOT from (VLAN_IOT:network) to (VLAN_TRUSTED:network)

# Block Guest to everything except WAN
block drop in quick on VLAN_GUEST from (VLAN_GUEST:network) to ! (self)
Common Gotchas
- DNS Resolution: Devices need DNS. Either allow DNS to firewall or configure DNS servers per VLAN.
- mDNS/Bonjour: Apple devices use mDNS for discovery. Doesn’t cross VLANs by default. Use avahi reflector if needed.
- Printer Discovery: Similarly blocked. Create explicit firewall rules or accept users will manually add printers.
- Management Access: Always create a firewall exception for your management VLAN before enabling restrictive rules. Lockouts happen.
Practical Implementation Walkthrough
Let’s implement a three-VLAN setup: Trusted, IoT, and Guest.
Step 1: Plan Your IP Scheme
Management: 10.10.10.0/24  (Gateway: 10.10.10.1)
Trusted:    10.10.20.0/24  (Gateway: 10.10.20.1)
IoT:        10.10.30.0/24  (Gateway: 10.10.30.1)
Guest:      10.10.50.0/24  (Gateway: 10.10.50.1)
Step 2: Configure Router
# pfSense example - create VLAN interfaces
# Interfaces → Assignments → VLANs → Add

Parent Interface: igb0 (LAN)
VLAN Tag: 20, 30, 50

# Assign and enable each
# Set static IPv4: 10.10.XX.1/24
# Enable DHCP server on each
# Set DNS forwarding for each
Step 3: Configure Switch
# Tagged trunk to router (port 1)
# Untagged access ports per VLAN
# Untagged trunk to AP with multiple VLANs
Step 4: Test Connectivity
# From a Trusted device
ping 10.10.30.1   # Should work (gateway)
ping 10.10.30.50  # Should NOT work (IoT device)

# Verify VLAN tagging
tcpdump -i eth0 -vv vlan

# Check firewall logs
tail -f /var/log/firewall.log
Step 5: Migrate Devices
Don’t try to do everything at once. Migrate one category at a time:
- Guest WiFi first (lowest risk)
- Then IoT devices (verify they still work)
- Finally Trusted (test thoroughly)
Monitoring and Troubleshooting
Common Issues
VLAN not working at all:
- Check trunk port VLAN membership
- Verify switch port is set to trunk (not access)
- Confirm VLAN exists on all switches in path
Inter-VLAN traffic leaks:
- Firewall rules missing or incorrect order
- NAT reflection causing issues
- Check router logs for blocked traffic
Device can’t reach gateway:
- Wrong VLAN assigned to port
- DHCP scope misconfigured
- Port security/MAC filtering active
Intermittent connectivity:
- MTU mismatch between VLANs
- Spanning tree convergence delays
- ARP cache issues
Monitoring Commands
# View VLAN interfaces
ip -br link show type vlan

# Check VLAN membership on switch
show vlan brief

# Monitor inter-VLAN traffic
tcpdump -i eth0.20 icmp and dst net 10.10.30.0/24

# pfSense firewall logs
clog /var/log/filter.log | grep 10.10.30
Grafana Dashboard
For ongoing monitoring, consider:
- Bandwidth per VLAN: Identify hogs and anomalies
- Inter-VLAN block counter: Security effectiveness metric
- Device count per VLAN: Track IoT proliferation
Hardware Recommendations
Budget Build (under $200)
| Component | Option | Approx Cost |
|---|---|---|
| Router | Protectli VP2410 (4-port) or similar mini PC | $150 |
| Switch | Used HP ProCurve 1810-24G | $0-40 |
| AP | Ubiquiti AC Lite or used enterprise gear | $50 |
Mid-Range Build ($200 to $500)
| Component | Option | Approx Cost |
|---|---|---|
| Router | Protectli VP4650 or Unifi Dream Machine | $200-300 |
| Switch | Unifi Switch Lite 16 PoE | $130 |
| AP | Unifi AP AC Pro | $100 |
Pro Build ($500+)
| Component | Option | Approx Cost |
|---|---|---|
| Router | Unifi Dream Machine Pro | $400 |
| Switch | Unifi Switch Pro 24 | $400 |
| AP | Unifi AP Pro (x2) | $300 |
My recommendation: Start with a mini PC running pfSense/OPNsense. It’s flexible, powerful, and cheaper than proprietary alternatives. Add a managed switch and you’re set.
Conclusion
VLANs transform a chaotic flat network into a disciplined, secure environment. The investment in planning and configuration pays dividends in:
- Reduced attack surface — compromised IoT can’t reach production
- Traffic control — bandwidth hogs contained
- Easier management — problems isolated to segments
- Future flexibility — new VLANs in minutes, not hours
Start with three VLANs: Trusted, IoT, and Guest. Prove to yourself that the IoT devices can’t reach Trusted. Then expand from there.
Further Reading
Questions or improvements? Reach out — homelab networking is always evolving.


Comments
Powered by GitHub Discussions