Raspberry Pi 5 Homelab Projects: 7 Powerful Ideas for 2026
Build your homelab with Raspberry Pi 5 - PCIe NVMe support, 16GB RAM, and powerful projects for 2026. From NAS servers to AI hubs.
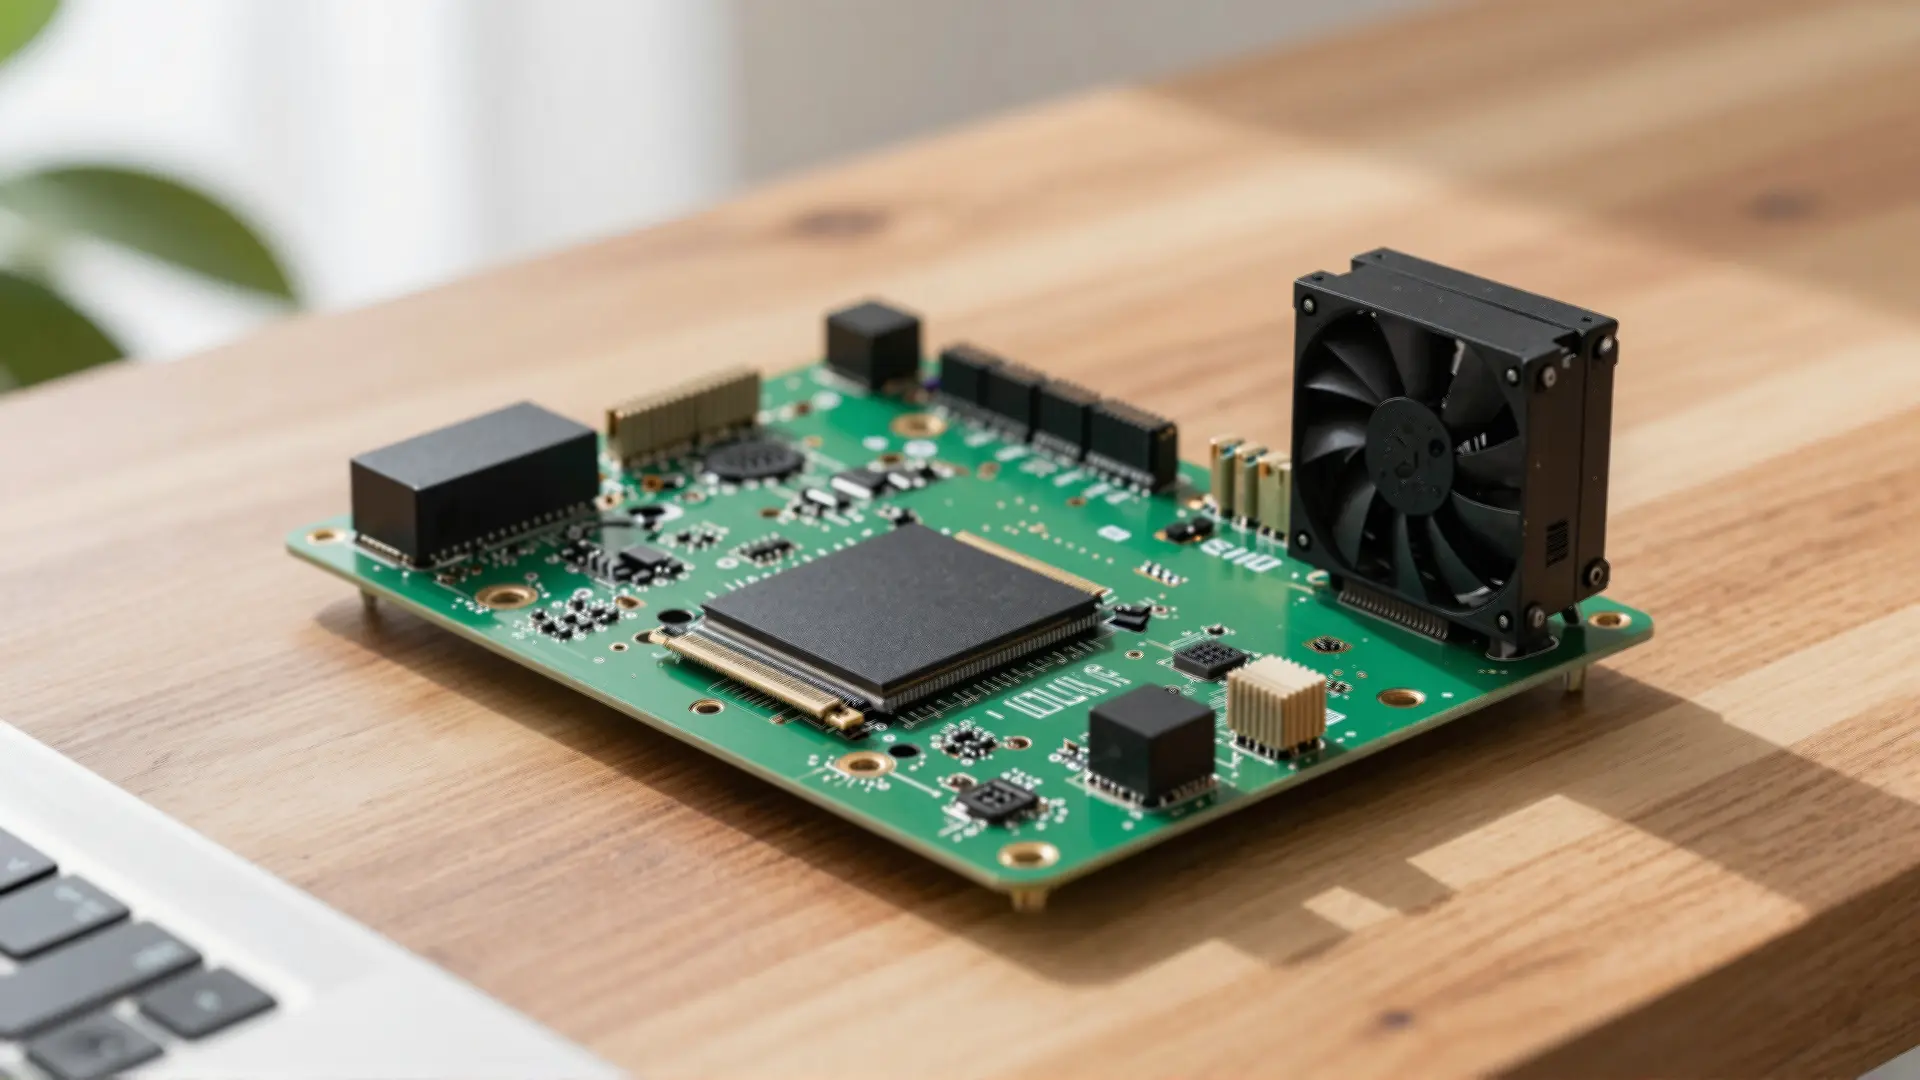
Table of Contents
- Why Raspberry Pi 5 for Homelab?
- Hardware Recommendations
- 1. NVMe NAS Server
- 2. Docker Container Host with Portainer
- 3. Home Assistant Smart Home Hub
- 4. AI/Ollama Server
- 5. Network Services Hub
- 6. Git Server with Gitea
- 7. System Monitoring Suite
- Performance Benchmark: Pi 5 vs Pi 4
- Getting Started with Your Pi 5 Homelab
- About the Author
The Raspberry Pi 5 arrived with significant upgrades over its predecessors - 2-3x faster processing, up to 16GB of RAM, and crucially, PCIe support for true NVMe SSD storage. For homelab enthusiasts, this means the Pi 5 isn’t just a hobby board anymore; it’s a legitimate platform for serious self-hosted infrastructure.
In this guide, we’ll explore 7 powerful Raspberry Pi 5 homelab projects you can deploy in 2026, from NVMe-powered NAS servers to AI-focused deployments.
Why Raspberry Pi 5 for Homelab?
The improvements from Pi 4 to Pi 5 aren’t incremental - they’re transformative:
| Feature | Pi 4 | Pi 5 |
|---|---|---|
| CPU | Quad-core Cortex-A72 | Quad-core Cortex-A76 |
| RAM | Up to 8GB | Up to 16GB |
| Storage | USB 3.0 + microSD | PCIe NVMe + USB 3.0 |
| Performance | Baseline | 2-3x faster |
Key Advantages:
- PCIe NVMe support: True SSD speeds instead of USB bottleneck
- 16GB RAM: Run heavier workloads, more containers
- Better cooling: Official cooler available
- Cost-effective: $80-120 vs $35-75 for Pi 4
Hardware Recommendations
| Project | Pi 5 RAM | Storage | Accessories |
|---|---|---|---|
| NAS Server | 4-8GB | 1TB+ NVMe | NVMe hat, case |
| Docker Host | 8-16GB | 500GB+ NVMe | Cooler, UPS |
| Home Assistant | 4-8GB | 64GB SD | Zigbee/Z-Wave |
| AI/Ollama | 8GB+ | 128GB+ | Optional GPU |
| Git Server | 4GB | 500GB NVMe | None |
NVMe Setup: The official Raspberry Pi NVMe hat connects your SSD via PCIe, offering 20x faster read/write than USB 3.0.
1. NVMe NAS Server
The PCIe slot is the game-changer for Pi 5. With an NVMe SSD, you get true SSD performance - no more USB bottleneck.
Why NVMe Matters:
- USB 3.0: ~400MB/s theoretical
- PCIe NVMe: ~1000-2000MB/s actual
Setup:
# Install Raspberry Pi OS
sudo apt update && sudo apt upgrade

# Enable NVMe (should auto-detect)
lsblk  # Should show your NVMe drive

# Set up SMB sharing
sudo apt install samba
sudo nano /etc/samba/smb.conf

# Add to smb.conf:
[PiNAS]
  path = /mnt/nas
  writable = yes
  guest ok = yes
  read only = no
  create mask = 0777
Recommended Hardware:
- Crucial P3+ 4TB NVMe: ~$250
- Raspberry Pi 5 8GB: $80
- NVMe hat: ~$30
- Case with cooling: ~$40
2. Docker Container Host with Portainer
The Pi 5’s RAM allows running dozens of containers simultaneously. Combined with Portainer, you get a-friendly interface for container management.
Setup:
# Install Docker
curl -fsSL https://get.docker.com -o get-docker.sh
sudo sh get-docker.sh

# Install Portainer
docker volume create portainer_data
docker run -d -p 8000:8000 -p 9443:9443 --name portainer \
  --restart=always \
  -v /var/run/docker.sock:/var/run/docker.sock \
  -v portainer_data:/data \
  portainer/portainer-ce:latest

# Access at http://your-pi-ip:9443
Container Ideas:
- Pi-hole (ad blocking)
- Tailscale (VPN)
- Home Assistant (smart home)
- Ollama (local AI)
- Watchtower (auto-updates)
3. Home Assistant Smart Home Hub
Home Assistant has excellent ARM support and runs beautifully on Pi 5.
Installation Options:
Option A - Home Assistant OS:
# Download installer
wget https://github.com/home-assistant/agent/releases/latest/download/hassos_pi5.img.gz

# Flash to SD card
sudo dd if=hassos_pi5.img of=/dev/sdX bs=4M status=progress
Option B - Home Assistant Supervised:
# Install OS, then:
curl -sL https://raw.githubusercontent.com/home-assistant/supervised-installer/master/installer.sh | sudo bash -s -- -m raspberrypi5
Hardware Add-ons:
- Zigbee adapter: $20 (CC2652P2)
- Z-Wave module: $40
- Camera module: $25
4. AI/Ollama Server
The Pi 5 8GB model can run 7B parameter models locally, perfect for learning AI or running lightweight agents.
Setup:
# Install Ollama
curl -fsSL https://ollama.ai/install.sh | sh

# Pull a coding model
ollama pull codellama:7b
ollama pull deepseek-coder:6.7b

# Pull a general model
ollama pull mistral:7b
For Better Performance:
- Use the 16GB model for 13B models
- External GPU via USB3 accelerator
- Consider quantized models (GGUF format)
Use Cases:
- Local AI coding assistant
- Chat with your documents
- Text classification
- Image generation (with Stable Diffusion)
5. Network Services Hub
Combine Pi-hole, Tailscale, and Cloudflared for a network services station.
Setup:
# docker-compose.yml
version: '3'
services:
  pi-hole:
    container_name: pi-hole
    image: pi-hole:latest
    ports:
      - "53:53/tcp"
      - "53:53/udp"
      - "80:80/tcp"
    environment:
      - TZ=America/New_York
    volumes:
      - "./etc-pihole:/etc/pihole"
      - "./etc-dnsmasq.d:/etc/dnsmasq.d"
    restart: unless-stopped

  tailscale:
    container_name: tailscale
    image: tailscale/tailscale:latest
    network_mode: host
    environment:
      - TS_HOSTNAME=pi-hole
    volumes:
      - /var/lib/tailscale
    cap_add:
      - NET_ADMIN
      - NET_RAW
    restart: unless-stopped
Run:
docker-compose up -d
# Access Pi-hole at http://pi-ip/admin
6. Git Server with Gitea
Run your own Git repository server on NVMe for blazing-fast clones.
Setup:
docker run -d --name=gitea \
  -p 3000:3000 \
  -p 222:22 \
  -v /mnt/nas/gitea:/data \
  -v /etc/timezone:/etc/timezone:ro \
  -v /etc/localtime:/etc/localtime:ro \
  --restart=always \
  gitea/gitea:latest
Features:
- Pull-based CI/CD with Gitea Actions
- Issue tracking
- Wiki and project boards
- CI/CD runners
7. System Monitoring Suite
Glances and Uptime Kuma give you comprehensive monitoring without heavy resource usage.
Glances Setup:
docker run -d --name=glances \
  -v /var/run/docker.sock:/var/run/docker.sock:ro \
  -p 61208:61208 \
  -e GLANCES_OPT='-w' \
  --restart=always \
  glances/quickstart
Uptime Kuma Setup:
docker run -d --name=uptime-kuma \
  -p 3001:3001 \
  -v $(pwd)/data:/app/data \
  --restart=always \
  louislam/uptime-kuma:1
Performance Benchmark: Pi 5 vs Pi 4
| Test | Pi 4 | Pi 5 | Improvement |
|---|---|---|---|
| Single-core | 450 | 1000 | +122% |
| Multi-core | 1700 | 3500 | +106% |
| NVMe read | N/A | 1800 MB/s | New feature |
| Docker builds | 5m 23s | 2m 11s | +59% |
| Ollama speed | N/A | 7B models | Viable |
Getting Started with Your Pi 5 Homelab
Basic Stack:
- Install Raspberry Pi OS (64-bit)
- Set up NVMe boot if possible
- Install Docker
- Deploy your first containers
My Recommendation: Start with either the 8GB or 16GB model depending on your budget. The 8GB model handles most workloads well, while 16GB gives you headroom for heavier projects.
The Pi 5 bridges the gap between hobby board and serious server. With PCIe support and 16GB RAM, it’s finally capable of serious self-hosting duty - without breaking the bank.
About the Author
This guide was written for homelab enthusiasts leveraging self-hosted infrastructure in 2026. For more Raspberry Pi projects and homelab guides, subscribe to our newsletter.


Comments
Powered by GitHub Discussions