Jellyfin Media Server Setup Guide: Your Complete Self-Hosted Streaming Solution
Learn how to set up Jellyfin, the free open-source media server. Compare with Plex & Emby, configure hardware transcoding, and stream your library anywhere.

Table of Contents
- Why Self-Hosted Media Matters
- Jellyfin vs Plex vs Emby: The Platform Showdown
- The Privacy Factor
- When to Choose What
- Hardware Selection: Building Your Server
- The GPU Question
- Recommended Builds
- Installation: Docker vs Bare Metal
- Docker Installation (Recommended)
- Bare Metal Installation
- Hardware Transcoding Setup
- Intel QuickSync Setup
- NVIDIA NVENC Setup
- Performance Expectations
- Library Setup: Organizing Your Media
- Directory Structure
- Naming Conventions
- Metadata Sources
- Remote Access: Getting to Your Media Anywhere
- Option 1: VPN (Simplest, Most Secure)
- Option 2: Reverse Proxy with HTTPS
- Option 3: Cloudflare Tunnel
- Storage Planning
- Storage Tiers
- Clients: Watching Your Content
- Official Apps
- Third-Party Gems
- Wrapping Up
Why Self-Hosted Media Matters
Remember when streaming was supposed to be the solution to everything? No more cable bills, no more clutter—just all your content, on-demand, for a reasonable monthly fee. That dream lasted about five years before it fractured into a dozen competing services, each hoarding exclusive content behind their own paywall.
Today, the average household subscribes to four streaming services. Between Netflix, Disney+, HBO Max, Paramount+, and the revolving door of others, you’re easily paying $60-100+ monthly. And that’s before you factor in the content that disappears when licensing deals expire.
Self-hosting your media server isn’t just about saving money (though that’s a nice bonus). It’s about owning your content—the movies you’ve purchased, the shows you’ve ripped from DVDs gathering dust, the family videos stored in a folder somewhere. No subscription can disappear on you. No service can revoke access. No algorithm can bury your watchlist.
Jellyfin is your ticket to that freedom. Let’s build something that’s actually yours.
Jellyfin vs Plex vs Emby: The Platform Showdown
Before we dive in, let’s address the elephant in the room: Plex is the household name. Most people considering a media server have at least heard of it. Emby sits in the middle ground. Jellyfin is the open-source upstart gaining serious momentum.
Here’s how they stack up:
| Feature | Jellyfin | Plex | Emby |
|---|---|---|---|
| License | Open Source (GPL) | Proprietary (Freemium) | Proprietary (Freemium) |
| Cost | 100% Free | Free tier; $4.99/mo or $149 lifetime | Free tier; $4.99/mo or $119 lifetime |
| Hardware Transcoding | ✅ Free | Requires Plex Pass ($$$) | ✅ Free (limited) |
| Mobile Apps | Free | Require Plex Pass or $5 one-time | Require Premiere or $5 one-time |
| Remote Access | Free, no account needed | Requires Plex account | Requires Emby account |
| Live TV/DVR | ✅ Free | Requires Plex Pass | Requires Premiere |
| Data Privacy | No tracking, no account required | User tracking, requires account | Some tracking, requires account |
The Privacy Factor
Here’s the thing that tips the scales for many: Plex requires an account. Every time you stream your own media, it routes through Plex’s authentication servers. They know what you’re watching, when you’re watching it, and from where. That’s the price of their polish.
Jellyfin asks for nothing. No account. No phone-home. Your server is truly yours. Stream locally or remotely, authenticate users you create, and never worry about a corporate server outage blocking access to your own files.
When to Choose What
Choose Jellyfin if:
- Privacy matters to you
- You don’t want surprise paywalls for hardware transcoding
- You’re comfortable with some self-hosting setup
- You want free mobile apps with all features unlocked
- You prefer open-source software
Choose Plex if:
- You want the most polished out-of-box experience
- Maximum client app support matters more than privacy
- You don’t mind paying for Plex Pass
- You want streaming service aggregation in one interface
Choose Emby if:
- You want something between Plex and Jellyfin
- A smaller, focused development team appeals to you
- You don’t need bleeding-edge features
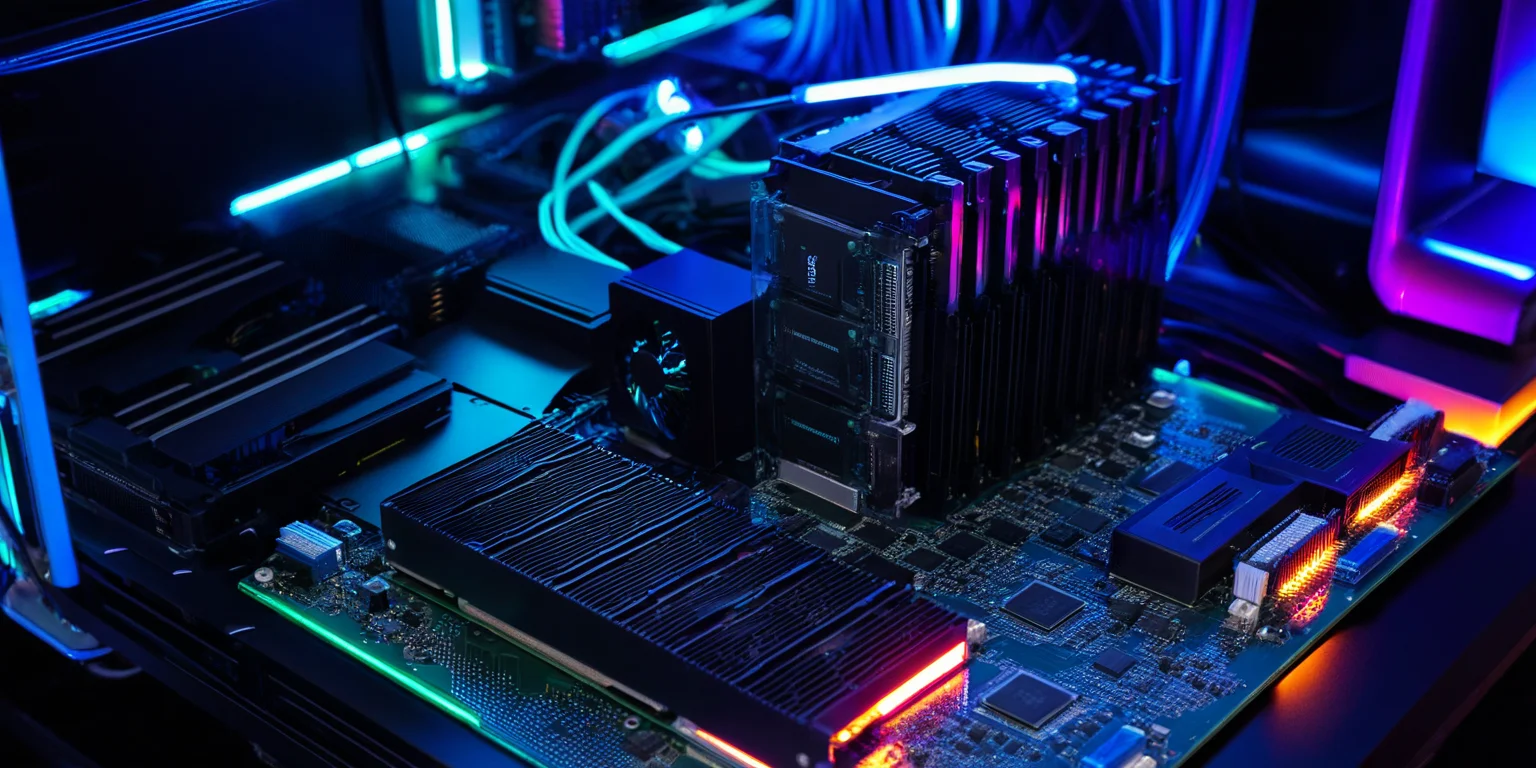
Hardware Selection: Building Your Server
You don’t need a beast of a machine. A modest Intel N100 mini-PC ($150-250) can transcode multiple 1080p streams while sipping 6 watts. But the right hardware depends on how you’ll use it.
The GPU Question
If you only need direct play (no transcoding), almost any hardware works. But if you’re streaming to varied devices—phones on cellular, aging smart TVs, browsers—hardware transcoding is essential.
Software transcoding hammers your CPU. A Ryzen 9 5950X can struggle with a single 4K HDR transcode. Offload that work to a GPU and suddenly you can handle 5+ simultaneous streams on much cheaper hardware.
Intel QuickSync (Recommended)
Intel’s integrated GPUs are transcoding powerhouses. No, really—an i5-12400’s iGPU outperforms many dedicated GPUs for video encoding.
| Generation | What You Get |
|---|---|
| Intel 4th-6th Gen | H.264, limited H.265 |
| Intel 7th-10th Gen | Full H.264/H.265, HEVC 10-bit |
| Intel 11th+ Gen | Full H.264/H.265/VP9/AV1 decode |
| Intel N100/N305 | Excellent value, low power (6-15W) |
Intel wins because: Drivers are pre-installed on most Linux distros, no session limits, excellent encoder quality, and power efficiency is unmatched.
NVIDIA NVENC/NVDEC
If you already have an NVIDIA GPU or need the absolute most transcode streams, NVIDIA delivers.
| Architecture | Decode | Encode |
|---|---|---|
| Turing (RTX 20) | Full HEVC, VP9 | HEVC 10-bit |
| Ampere (RTX 30) | Full HEVC, VP9, AV1 | HEVC 10-bit |
| Ada Lovelace (RTX 40) | Full AV1/HEVC/VP9 | AV1 encode |
The catch: Consumer GeForce cards are limited to 3-5 simultaneous NVENC sessions (though community drivers can unlock this). Quadro cards have higher limits.
AMD VAAPI
Honestly? Skip AMD for transcoding unless you already own a recent RX 7000/9000 series card. The encoder quality lags behind Intel and NVIDIA, driver setup on Linux is more complex, and the experience is just… rougher.
Recommended Builds
| Use Case | Hardware | Est. Cost |
|---|---|---|
| Budget NAS | Intel N100 mini-PC | $150-250 |
| Mid-Range | Intel i5-12400 + iGPU | $300-400 |
| Power User | Intel i5 + Arc A380 dedicated | $400-500 |
| Dedicated Transcoder | RTX 3060 + any decent CPU | $350-500 |
| Low Power Champion | Intel N305 NUC | $300-400 |
Installation: Docker vs Bare Metal

Two paths lie ahead. Docker provides isolation, easy updates, and portability. Bare metal offers potentially better performance and direct hardware access. For most users, Docker is the right choice.
Docker Installation (Recommended)
Docker Compose Method
Create a docker-compose.yml file:
services:
  jellyfin:
    image: jellyfin/jellyfin
    container_name: jellyfin
    user: 1000:1000
    group_add:
      - "109"  # render group ID (check with: getent group render)
      - "44"   # video group ID
    network_mode: 'host'
    restart: unless-stopped
    environment:
      - TZ=America/New_York
    volumes:
      - /path/to/config:/config
      - /path/to/cache:/cache
      - /path/to/media:/media
    devices:
      - /dev/dri/renderD128:/dev/dri/renderD128  # Intel iGPU
Then run:
docker compose up -dYour Jellyfin server is now live at http://your-server:8096.
With NVIDIA GPU
services:
  jellyfin:
    image: jellyfin/jellyfin
    runtime: nvidia
    deploy:
      resources:
        reservations:
          devices:
            - driver: nvidia
              count: all
              capabilities: [gpu]
    # ... rest of config
You’ll need the NVIDIA Container Toolkit installed on the host:
curl -fsSL https://nvidia.github.io/libnvidia-container/gpgkey | sudo gpg --dearmor -o /usr/share/keyrings/nvidia-container-toolkit-keyring.gpg
curl -s -L https://nvidia.github.io/libnvidia-container/stable/deb/nvidia-container-toolkit.list | \
  sed 's#deb https://#deb [signed-by=/usr/share/keyrings/nvidia-container-toolkit-keyring.gpg] https://#g' | \
  sudo tee /etc/apt/sources.list.d/nvidia-container-toolkit.list
sudo apt update
sudo apt install -y nvidia-container-toolkit
sudo nvidia-ctk runtime configure --runtime=docker
sudo systemctl restart docker
Bare Metal Installation
For those who prefer running directly on the host:
Debian/Ubuntu
# Add Jellyfin repository
sudo apt install -y curl gnupg
curl -fsSL https://repo.jellyfin.org/ubuntu/jellyfin_team.gpg.key | sudo gpg --dearmor -o /etc/apt/trusted.gpg.d/jellyfin.gpg
echo "deb [arch=$(dpkg --print-architecture)] https://repo.jellyfin.org/$(. /etc/os-release && echo $UBUNTU_CODENAME) main" | sudo tee /etc/apt/sources.list.d/jellyfin.list

# Install Jellyfin
sudo apt update
sudo apt install -y jellyfin jellyfin-ffmpeg7

# Add your user to required groups
sudo usermod -aG render,video jellyfin
Arch Linux
sudo pacman -S jellyfin jellyfin-ffmpeg
sudo systemctl enable --now jellyfin
Hardware Transcoding Setup
This is where the magic happens. Without hardware acceleration, your CPU does all the heavy lifting. With it, your GPU does video encoding/decoding at a fraction of the power cost.
Intel QuickSync Setup
-
Install drivers (usually pre-installed on modern distros):
sudo apt install intel-media-va-driver-non-free -
Add jellyfin user to groups:
sudo usermod -aG render,video jellyfin -
Verify GPU access:
vainfo -
Configure in Jellyfin:
- Go to Dashboard → Playback → Transcoding
- Enable Hardware Acceleration
- Select “Intel QuickSync (QSV)”
- Choose appropriate QSV device
NVIDIA NVENC Setup
-
Install NVIDIA drivers:
sudo apt install nvidia-driver -
Verify with:
nvidia-smi -
Configure in Jellyfin:
- Dashboard → Playback → Transcoding
- Enable Hardware Acceleration
- Select “NVIDIA NVENC”
- Enable the codecs you want
-
Test transcoding and watch GPU usage:
watch -n 1 nvidia-smi
Performance Expectations
| Platform | 1080p HEVC Streams | 4K HEVC Streams | Power Draw |
|---|---|---|---|
| Intel N100 | 3-5 | 1-2 | 6W |
| Intel i5-12400 | 10-15 | 5-7 | 65W |
| Intel Arc A380 | 8-10 | 4-5 | 75W |
| RTX 3060 | 15-20 | 8-10 | 170W |
Library Setup: Organizing Your Media
Jellyfin needs structure. A well-organized library means accurate metadata, proper artwork, and a polished browsing experience. A messy library means missing posters, wrong movie matches, and frustration.
Directory Structure
/media
├── movies/
│   ├── Movie Name (Year)/
│   │   ├── Movie Name (Year).mkv
│   │   └── Movie Name (Year).srt
│   └── Another Movie (2023)/
│       └── Another Movie (2023).mp4
├── shows/
│   ├── Show Name (Year)/
│   │   ├── Season 01/
│   │   │   ├── Show Name - S01E01.ext
│   │   │   └── Show Name - S01E02.ext
│   │   └── Season 02/
├── music/
│   └── Artist Name/
│       └── Album Name/
│           └── tracks...
└── anime/
    └── Anime Name/
        └── Season 01/
Naming Conventions
- Movies:
Movie Name (Year).ext— The year helps with matching - Episodes:
Show Name - S01E01 - Episode Title.ext - Anime: Can use absolute numbering or SXXEXX format
Metadata Sources
| Provider | Best For |
|---|---|
| TMDb | Movies & TV shows (primary) |
| TVDb | TV shows (alternative) |
| AniDB | Anime libraries |
| MusicBrainz | Music albums |
Pro tip: Enable multiple metadata providers in each library’s settings for better matching accuracy.
Remote Access: Getting to Your Media Anywhere
The dream is watching your library from anywhere—your parents’ house, a hotel room, your phone on the train. But directly exposing Jellyfin to the internet is a security nightmare.
Option 1: VPN (Simplest, Most Secure)
Install Tailscale on your server and any device you want to stream from:
curl -fsSL https://tailscale.com/install.sh | sh
sudo tailscale up
Now access Jellyfin at http://your-tailscale-ip:8096. No port forwarding, no SSL certificates to manage, and your traffic is encrypted.
Option 2: Reverse Proxy with HTTPS
For a more traditional setup, use Caddy for automatic HTTPS:
# Caddyfile
jellyfin.yourdomain.com {
    reverse_proxy localhost:8096
    encode gzip
}
Caddy automatically provisions and renews Let’s Encrypt certificates. Point your domain’s DNS to your server (through a VPN or with port forwarding), and you’re done.
Option 3: Cloudflare Tunnel
Zero port forwarding required. Cloudflare provides a tunnel from their network to your server:
# Quick test tunnel
cloudflared tunnel --url http://localhost:8096
For production, set up a named tunnel through Cloudflare’s dashboard.
Storage Planning
Media hoarding has storage implications. A 4K HDR movie can run 50-80GB. A TV season easily hits 100-300GB. Plan accordingly.
Storage Tiers
| What | Recommended |
|---|---|
| OS + Jellyfin | SSD (50GB minimum) |
| Transcoding Cache | Fast SSD or even RAM (tmpfs) |
| Media Files | HDD (CMR, NOT SMR!) |
| NAS Connection | NFS for Linux, SMB for mixed environments |
The SMR Warning: Shingled Magnetic Recording (SMR) drives are cheap and fine for archiving, but terrible for write-heavy workloads. They’ll make library scans crawl and transcoding stutter. Always buy CMR (Conventional Magnetic Recording) drives for active storage.
Clients: Watching Your Content

Jellyfin supports more platforms than you’d expect:
Official Apps
| Platform | Notes |
|---|---|
| Web | Full-featured, works in any browser |
| Android/iOS | Free, all features unlocked |
| Android TV/Fire TV | TV-optimized, works great |
| Roku | Solid, though some cable TV warning quirks |
| Apple TV | Full-featured with AirPlay |
| Xbox | Console app |
| LG WebOS | Native app for LG TVs |
Third-Party Gems
- Infuse (iOS/tvOS/Mac): Gorgeous interface, worth the premium price
- Finamp (Android/iOS): Music-focused with offline downloads
- Findroid (Android): Modern Material You design
Wrapping Up
Jellyfin represents something increasingly rare: software that respects you. No subscriptions. No tracking. No paywalled features. Just your media, your server, your rules.
Start simple—a Docker container on existing hardware, a basic library or two. Let it grow organically. Add hardware transcoding when you need it. Expand storage as your library grows. The beauty of self-hosting is that you’re in complete control of the timeline.
The setup we’ve covered here will handle most home use cases. For advanced configurations—LDAP authentication, multiple users with granular permissions, plugin ecosystems, or Live TV/DVR with a tuner card—the official Jellyfin documentation is comprehensive and well-maintained.
Welcome to the world of truly owning your media. It’s worth it.

Comments
Powered by GitHub Discussions